The skills needed for portrait photography filter into many other fields of photography, like wedding photography, street photography, and family photography. At first glance, it looks easy to gather a group of people together and start snapping away. Contrary to what most people think though, being “photogenic” is less about naturally looking good on camera, and more to do with the photographer’s skills. Any indecision or uncertainty on behalf of the model will come across on camera, so it’s up to the photographer to make their subject feel comfortable.
Portrait photography requires a strong understanding of how best to use lighting, composition and editing to make the most of their model’s best features. There are multiple techniques which can help enormously in turning a bad portrait into a good one.
We’ve compiled the ultimate beginner’s guide of everything you need to know when it comes to starting out with portrait photography, and thrown in a few helpful tips and tricks along the way to help you take your portrait photography to the next level.
1. Get the right portrait photography equipment
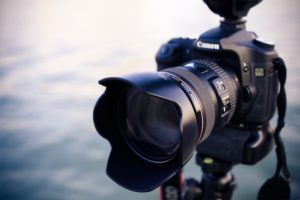
First things first; to get the right shot, you need the tools to do the job properly. You may not need a huge kit to begin with (and, at any rate, it doesn’t come cheap!) but you can build it up over time, starting with a high-quality camera and lens.
Before you begin, you’ll need to consider what kind of photography you’ll be doing, and where. For instance, consider if you will be:
- Shooting large groups versus single shots
- Shooting in a studio versus outside
- Shooting in the day versus night time
- Using the camera for other kinds of photography, for instance, landscape photography
Different kinds of portrait photography require different lenses and lighting equipment and different cameras have their strengths and weaknesses.
If you’re just starting out, you’ll want a camera that is easy to use, and you’ll also want to take into consideration size, weight and budget. Some cameras are better for low-light photography, which might be useful if you’d like to branch into wedding photography in future. If you’re more interested in something like street photography, you may want a camera that is more lightweight, where changing camera settings and lenses are easier.
A standard lens is the best option for portrait photography unless you’re using a wide-angle or telephoto lens to get a more unique result. Most beginners start with a 50mm lens for portrait photography, which is close to what the eye will see in real life.
If you’re shooting in difficult light situations or in a studio, it’s important to have lighting equipment. You can purchase affordable LED lighting online, or hire it for events if you’re doing a one-off shoot. You may also want a tripod, which you can purchase relatively cheaply.
Tip: Using a longer lens for portraits in some scenarios (such as a 200mm) can flatten the face, which can be particularly helpful if your subject has larger-than-average features, like a long nose or a rounded face that you’d like to tone down.
2. Consider your lighting and environment
Lighting is one of the most important considerations in any photographic medium, and this certainly applies to portrait photography. It will take some practice to be able to fully understand how light affects your shots, and apply these learnings while shooting.
The best light is always natural lighting outside, in the mornings or at sunset, hailed ‘the golden hour”, but anytime is usually fine to shoot unless it is around midday when the sun is high in the sky. The light can be particularly unforgiving at this time (probably one of the reasons why most wedding planners schedule shoots before or after this time.
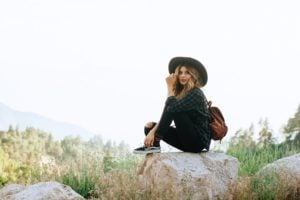
Photographers often try to use the strengths of their background and work within it. For instance, if you’re doing a rustic photoshoot, use the soft natural colours of the greenery outside, and use the soft golden side-light before sunset to capture your subject posing candidly. However, this isn’t always the case; sometimes juxtaposing a woman in a beautiful dress in a harsh setting can make for fascinating shots.
Tip: Think about how much of your background you’ll need to show, and whether or not it is relevant to the story behind your shot. If you’re shooting a restaurant owner, you may want to show them in front of the restaurant, serving food, or preparing a dish. Not only does this convey what they do, but it will also help your subject feel more confident.
3. Connect with your subject
This is probably one of the most important factors of all in portrait photography. Unless you’re working with professional models, most people have no idea what they look like in front of a camera (when they’re not taking a selfie, that is!) and will need a lot of direction.
It may take some time to get the ideal poses you’d like for the best portrait photography shots. Confidence from your subject can really help, as well as a little direction because remember; your subject can’t see what you’re seeing. By confidently directing your subject, talking to them, and making them feel at ease, you’ll coax them into relaxing into the shoot.
An inexperienced model may take longer to warm up in front of the camera so be patient, and try to book in as much time as possible prior to shooting.
When capturing a pose, it helps to think about what you’re trying to show in your photos. For example, you might be taking shots of a high-level executive in the workplace. If so, his or her pose should reflect power and confidence, so they may want to pose with their hands on their hips, or arms crossed against their chest. Compare this to, say, a portrait of an artist. They may want to be photographed in their studio or by their artworks, in a relaxed pose, wearing something which embodies their creativity and personal style.
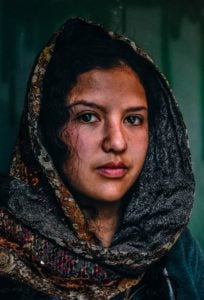
Tip: Focus on the eyes, particularly if you’re taking headshots. If you can connect well with the eyes, you can anchor your image and capture a particularly powerful shot.
4. Use shapes
When helping your subjects pose, try to find and use shapes, and work with the surrounding background.
Think about whether you want a face shot, half body, or full body shot, or maybe all of the above! When taking a shot that focuses on the upper body, try not to cut people’s bodies off in awkward sections. A good rule of thumb for this is to never cut off anything that bends, i.e. elbows or knees.
Limbs can become awkward in shots, so it’s a good idea to ask your subject to lean on something which will bend their elbows or to bend one knee, or sit down.
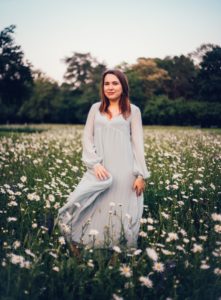
Full body shots are often underused in portrait photography but can have an extremely dramatic effect, particularly in wedding photography, when the subject has a great silhouette or is wearing a long, flowing dress. We see this often in fashion photography, but unless you’re doing a fashion shoot, we want to ensure that the clothes don’t take over the shot. Think about the shapes of the body, too, and body language, to encapsulate a feeling.
Tip: Watch your subject’s hands. Many of us don’t know what to do with them and tend to hold them awkwardly. This can be easily missed when shooting but can become very distracting to look at afterwards!
5. Portrait photography styles
There are several different portrait photography styles you can experiment with to get the most out of your shots. When we think of portraits, we tend to think about posed shots, but experimenting with candid shots can result in strong images. Either way, it’s important to try using a variety of angles to see what amazing shots you can capture.
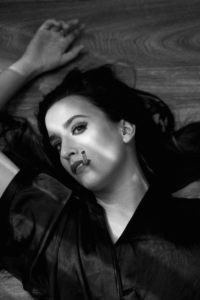
Black and white images can work very well with portrait photography. Not only does it give your portraits a more classic and timeless look, but it also helps emphasise shape and contrast and can lead to a very striking photograph.
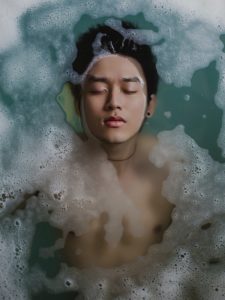
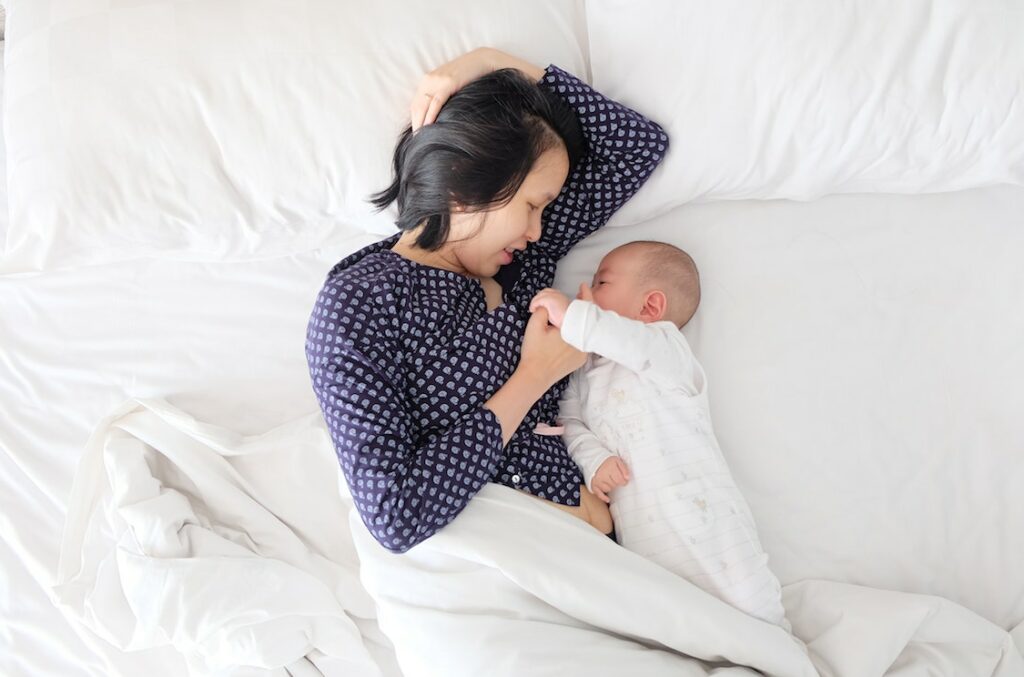
Tip: Try not to take expected shots, particularly when shooting for weddings or family photos, as these can come across a little cliché on camera and become distracting. Try to get creative and take interesting shots from unexpected angles. Think about the “story” that the shot is trying to tell and the feelings you’re trying to invoke in each shot. Are you trying to communicate love? Strength? Trust? Or is it more complicated? Perhaps you’re trying to communicate an unexpected fragility, strength in numbers, or a tragic love story. Thinking about your story will help you direct your subjects and how they are posing. Use props to help tell your story, or explain a point of view.
6. Take inspiration from the best portrait photographers
If you’re feeling uninspired, use your imagination and take a cue or two from talented portrait photographers.
Martin Schoeller is one of the most famous recent portrait photographers in the world and is known for his hyper-close portraits. In one of his most famous series of works, a collection of portraits where the subjects stared straight down the lens of the camera, he used the same treatments for all his subjects, whether celebrities, politicians or unknown.
In the photo below, we can see how he uses angles to create interesting shapes. In the image of Jacolby Satterwhite sprawled upside-down on a chair, he creates shapes with the lines in the image; the angle of the chair, the broom and the edge of the table all meet at angles to create a perfect balance.
Nadav Kander is another famous portrait photographer and artist. His photography has been exhibited widely all over the world.
The below images are a testament to his creativity and personal style; he uses shapes and shadows in such interesting ways to convey emotion.
Tip: Explore different photographers and artists on Pinterest to find out which styles and looks you prefer. Study what they do, and consider how you might achieve different looks by trying various effects.
7. Learn to edit portraits
Learning to edit your portrait photography can turn an ordinary shot into something truly spectacular. With editing, less is more, especially if you’re just starting out. With any changes you do make, ensure you make them slowly. Start by creating a copy of your image so you only edit the duplicate. You may not like your edits or may want to experiment with a different editing style to compare.
For full-body shots, you’ll want to think more about making some basic tweaks to contrast, light, and cropping.
For close up shots, you’ll still want to consider those tweaks, but you’ll also want to make small edits to the face, depending on how polished you’d like your final image to be. You may want to whiten teeth slightly, remove any redness in the eyes, smooth the skin slightly and remove or fade any obvious dark circles under the eyes or soften any fine lines.
To do this, you might use a mobile app, desktop app or splurge on more expensive computer software. It really depends on how much money you’re willing to invest in your photography and how often you’ll be using your editing program or programs.
Remember, depending on what the photos are for, you don’t want to lose the essence of who the subject really is and what they look like.
Tip: To find out more about editing, check out our tips on photo editing for beginners here.
Once you have some beautiful portraits, don’t leave them stored on your phone or a memory card. Turn them into beautiful canvas prints with Canvas Factory. Upload your photos today to see what they would look like as a stunning canvas print or wall display.


