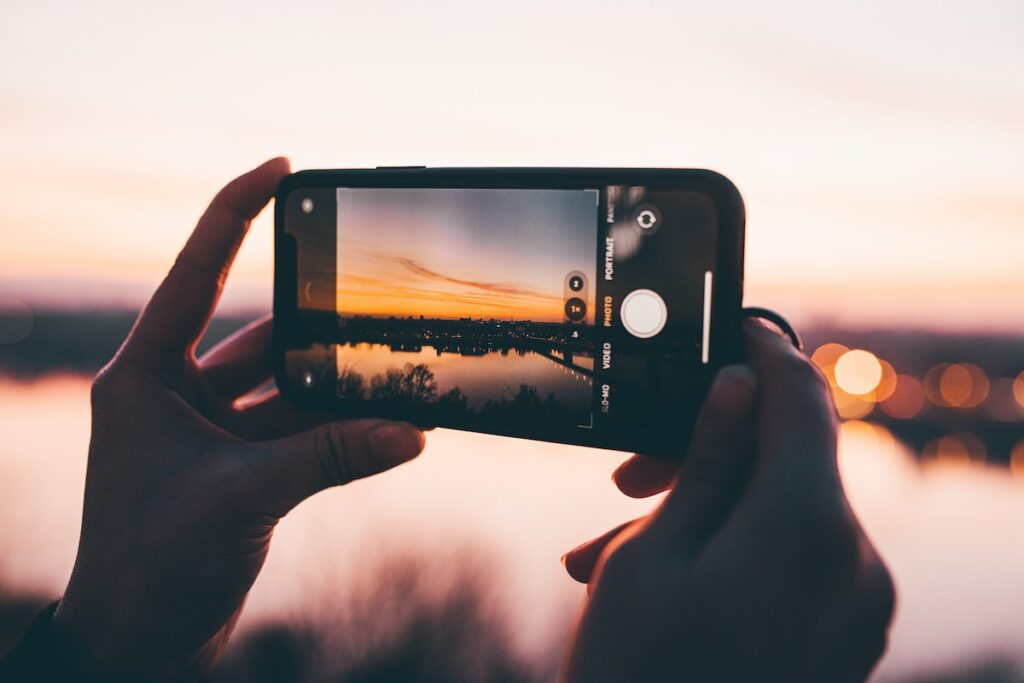
It’s amazing how just a few simple photo editing tweaks can turn a lacklustre photo into a vibrant and engaging shot ready to post to your Instagram feed or hang as a canvas print on your wall.
The best part about simple photo editing is that you don’t need to be an expert to learn. Even beginners can edit photos with confidence, without having a degree, using various editing tools. These days, many people are editing photos online on desktop or using a photo editing app on mobile to use on-the-go, or to post photos while travelling.
There is an immense number of tools and techniques at your disposal when it comes to simple photo editing, catering to everyone from complete beginners to advanced photographers. But how do you know which one will work for you? What you eventually settle on will depend on the finished look you prefer, your budget, which editing functions you need, and what kind of computer or smartphone you have.
Some people like to use software programs on a desktop, while others prefer simply using a mobile app, or a combination of apps. Many photographers switch between different options, depending on what they’re editing and on their needs at the time. You might start with apps for simple photo editing when you’re starting out and then move on to using desktop software if you want more precision in the editing process further down the track.
In this article, we’ll discuss the various simple photo editing options available so you can start to explore what might work for you and get you ready to experiment with editing styles so you can produce some amazing shots.
First things first
Before we begin, there are a few important rules to keep in mind when editing. Firstly, no amount of editing can fix a bad photo. Except for very unique circumstances, a bad photo cannot be saved by editing. It’s true that you might be able to improve your image and turn it into a passable one, but it’s always better to start with a good photo from the beginning, which can turn into something truly magical.
Secondly, when you first start editing your photos, it can be tempting to go crazy with highly saturated hues and exaggerated filters. It might be hard at first, but try and exercise some restraint! The best photos still look like photos, and the editing should seem subtle, even though it may have taken you several painstaking hours to achieve a certain look.
Also, before you start looking into simple photo editing options, consider:
- How will you be using your photos? Are you planning on taking beautiful photos to edit and turn into stunning canvas prints? Are your images for friends? Or just for yourself?
- Who are you taking your images for, and what overall look do you want to achieve? You might be taking photos for your travel blog, but keep in mind what you’d like to do with the images later on. Perhaps you want to create a travel photo book? Images look different on Instagram than they do in print, so ensure you keep high-resolution images, and if you’re creating a photo book or large photo prints, consider editing on a desktop; you’ll be able to see more of the detail in each shot
- What kind of software do you have? Will you only have a mobile phone available, or can you use a computer?
- Which look do you want to go for, and how does that fit with your other images? Instagram is a great place to begin when looking at the various styles of images. Some bloggers opt for warm and woody tones, whereas others go for a clean, crisp, white-based palette. Others might go for a dark and moody feed. Observe these different styles and think about what you want to portray. There’s also nothing wrong with trying all of these styles and more, and seeing what works for you. After all, life isn’t a perfectly curated Instagram feed!
Simple photo editing apps and tools
So, how do you know which photo editing software is right for you? Or would you prefer using a photo editing app? There are literally hundreds of simple photo editing apps available, so it can be hard to know where to begin. What you choose will depend on your needs, as well as how much time and money you’d like to invest in your photo production process.
Adobe Lightroom or Photoshop
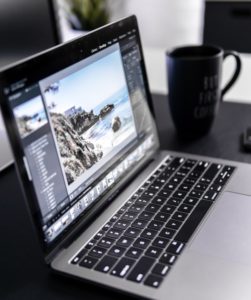
Learning to use Lightroom or Photoshop can take some time and are more expensive than other options, but if you’re serious about editing or want to be able to have more control and precision in the editing process, they’re worthwhile investments. If you’re editing your photos to turn into wall art prints, these programs can be helpful, as they allow you to zoom in and edit fine detail in your photos. If so, we recommend using a desktop, as you’ll be able to see this detail more closely.
These programs also feature a trial period, so you can try before you buy the software.
Lightroom and Photoshop also have mobile photo editing app versions which have slightly less functionality but are cheaper and easier to learn.
Good for: Although the cost is steeper than other apps, these programs work for all kinds of photos, whether you’re taking portraits, street shots, landscapes, or anything else in between. These programs work well for images where you’d like to edit fine details, need to remove objects from your image, or your image has subtle inconsistencies that you need to amend, like light patches and shadows.
Other programs and applications
There are many smartphone and desktop applications to choose from. Photo editing apps are easier to learn, especially when you’re on-the-go, and can produce a look that is just as good as Lightroom or Photoshop. The only downside, however, is that you won’t have as much control in influencing the various elements in your photo. Depending on which app you choose, you might not be able to do things like removing people or objects from your images, making complex changes to colour or light, or achieving certain effects.
GIMP, Snapseed, PhotoPlus, Pixlr or PicMonkey are all great programs to use and range from free to costing a small fee.
Good for: These apps are good for casual or beginner photographers who want to do simple edits like cropping, colour corrections and adjustments to shadows, contrast, and light. They’re also good for when you’re travelling, or don’t need to make many complex edits. The programs do have different strengths and weaknesses, so you may find that a combination of some of these programs can work well for you.
Simple photo editing basics
So, how do you get started with simple photo editing? It’s easy to make just a few small corrections which can make your photos look fantastic.
Before you even start editing, analyse your photo. What do your eyes immediately get drawn to when you first look at the image? If you’re shooting people, that might be someone’s eyes, face, or the shapes of their body or silhouette. These might be areas you want to accentuate further. If you’re shooting landscapes, it’s important to think about light, shadows, and the contours of land or bodies of water. Also, consider if there’s anything in the photo which takes away from your image. If there are birds flying in the photo, are they making your image better, or worse? If they’re becoming distracting, you can try removing them or darkening those areas. An app called Touch Retouch is great for precise removal of objects in your images if you’re not using Lightroom or Photoshop.
First, make a copy of your image before you start editing. You may not like the editing you have completed, or want to compare different photo editing styles. Take note of what edits you have made or save your settings. Often, if you have taken images in the same series, you can copy those same editing settings and apply them to the same images in the series, saving you time.
Secondly, don’t make dramatic changes. Editing is about making smart changes, in moderation. If you make your edits too obvious, your image will start to look fake, which will become distracting to the overall look of the image.
Here are some basic edits you can complete to make your photos pop.
Cropping
One of the easiest ways to improve an image, especially for a beginner, is a clever use of cropping. There are no hard and fast rules for cropping, but generally, you’ll want to ensure that there is enough space around the subject of the image.
You may also want to crop closer into your subject or cut out irrelevant images or unsightly patches of light or objects. Just be sure that if you do this, your image still retains the aspects which originally made it look like such a strong shot.
While cropping, you’ll also want to ensure that the horizon is straight. Most apps will have a tool specifically to fix your horizon lines. Usually, your horizon will just require a small adjustment, but this can make a huge change to your photos.
Changing contrast and brightening
Changing the contrast of your image will make your image a little sharper, making the lighter parts of your image brighter and the darker parts darker. This is also a case of making tiny edits. If you’ve shot your image with low light, you may want to turn up the brightness and contrast a small amount.
When adjusting brightness, again, make small edits at a time. You may not need to use the brightening tool at all, depending on what your image looks like, to begin with.
Correcting portraits
As well as basic adjustments like cropping and changing contrast, when it comes to portraits, there are several corrections you can make to improve your images.
Most tools will have a red-eye correction tool which can be easily applied if needed. Then you may want to whiten the teeth to increase contrast to the skin, as well as removing any blemishes and improving the appearance of lines on the face, neck, and body, and smoothing out skin tone.
Lightroom and Photoshop, in particular, are great for this, or there are mobile apps like GIMP and Facetune, which was created specifically to make adjustments to portraits.
Again, less is more. You still want your subjects to look natural. In some scenarios, you might want to keep your portraits fairly natural. For instance, in street photography, flaws can make a person look interesting and unique. Street photography is meant to be real and raw, and making too many corrections can cause you to lose the essence of what you were trying to capture in the first place.
Making these basic changes can take your photos to the next level. These simple photo editing tools can work to improve your photos exponentially. You may not get it straight away, but, with time, you’ll be able to instinctively know which changes to make to really make your photos shine.
Once you’ve got your perfect photo, why not turn it into a canvas print or photo block? At Canvas Factory, we’ve got countless options to create meaningful prints with your beautiful photos. Cover your walls with your memories or create a meaningful present for someone you love. You won’t regret it!


