The difference between amateur and professional portraits can be vast…
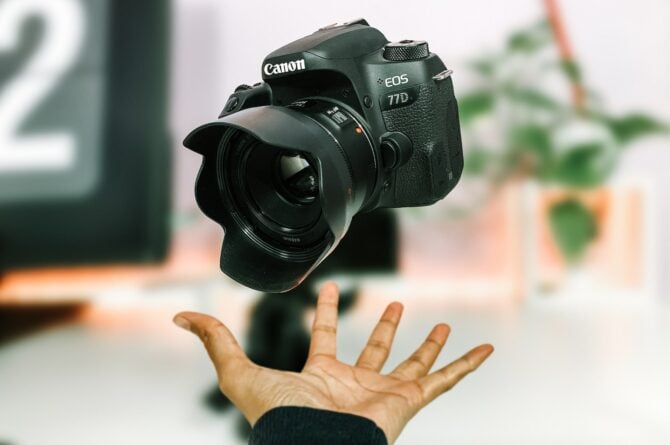
9 Home Photography Ideas to Try This Weekend
It takes time and practice to become a good photographer. Yet you might think it’s difficult to sharpen up those skills when you’re stuck at home or unable to travel. But being a skilled photographer doesn’t mean you need to travel far and wide. We’ve pulled together the best home photography ideas so you can hone those skills from the comforts of your own home!
These simple home photography ideas will help you refine your photography skills like a pro. Better yet, though, they will help you unleash your creativity and see that you can shoot fantastic photos wherever you are!
Read on for our top home photography ideas. All you need to do is free a couple of hours out of your afternoon, whip out your camera, and get creative! For most of these ideas, it’s best to use a DSLR so you can have more control and you have the ability to change the settings and get that perfect shot.
1. Play with Fire
Fire is one of those mesmerising wonders that has fascinated mankind from the beginning of time. So, there’s no wonder, then, that it makes such a compelling photography subject. For obvious reasons, you need to be careful when photographing fire! Be sure to check fire regulations in your local area before you start. Avoid starting fires outside near dry grass or foliage, and be sure to have water or a fire extinguisher nearby if you’re starting a fire in a drum or container!
With the safety measures out of the way, you can start experimenting! Inside, start by experimenting with candles, sparklers or lighters in a controlled environment.
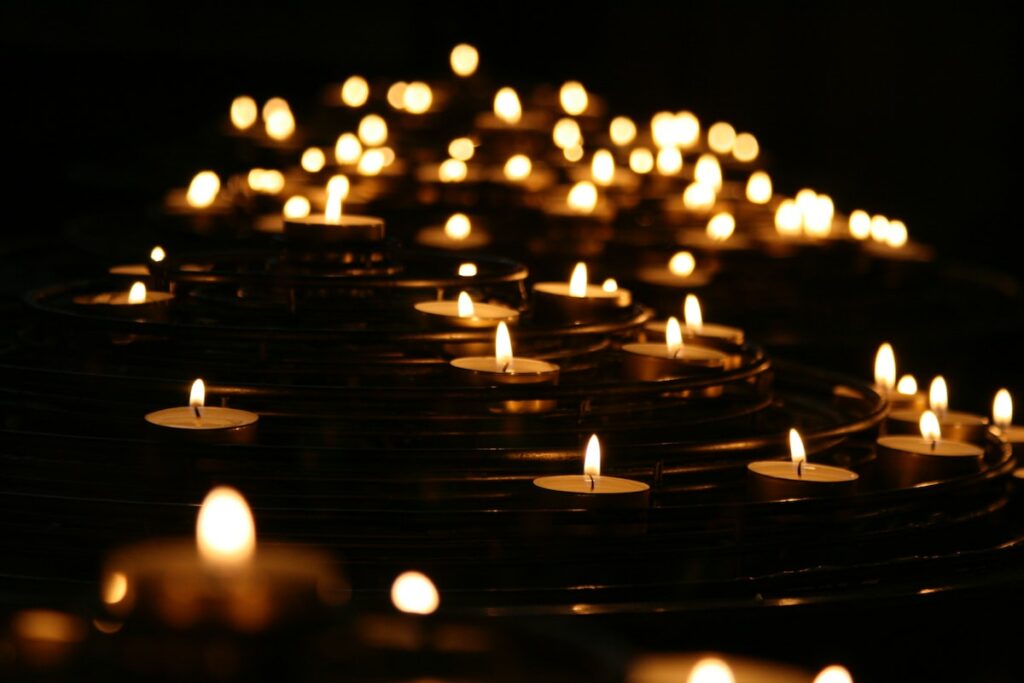
To capture as much detail as possible in your fire photos, use a narrow aperture, like f/8. However, if you want to include other subjects in your photo, just increase your ISO to include more light in your image.
When you’re photographing fire, you don’t want to get too close! Use a zoom lens to capture details without putting you (and your camera) at risk.
2. Experiment with Soap Bubbles
Another fun (and safe) home photography idea is bubbles! Soap bubbles can provide endless fun and are simple enough to photograph if you can enlist a few little helpers to help you create bubble magic.
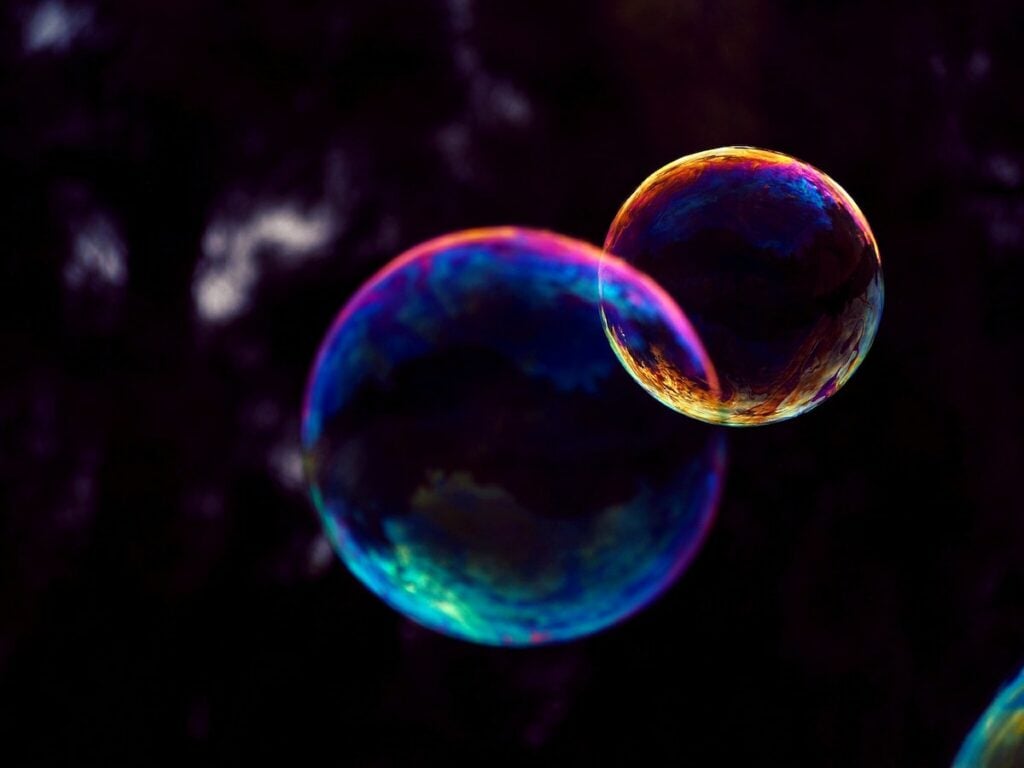
First up, create a strong soap bubble solution so your bubbles don’t break before you have a chance to shoot them. Next, you’ll want to use a macro lens for your bubble photography so you can get in nice and close to the bubbles and capture all the fine details, like the light hitting the bubble. You can also use a telephoto lens or just use your standard lens at the maximum focal lens.
Use a small aperture between f/11 and f/16. Time is also important when you’re shooting bubbles, as they can pop quickly. Therefore, you’ll need a relatively fast shutter speed, such as 1/250. If your shutter speed is too slow, any movement in the bubble will also be captured as a blur. As for ISO, try somewhere between 100 and 200, and stick closer to 100 if your light is brighter.
3. Try Mesmerising Dye Drops
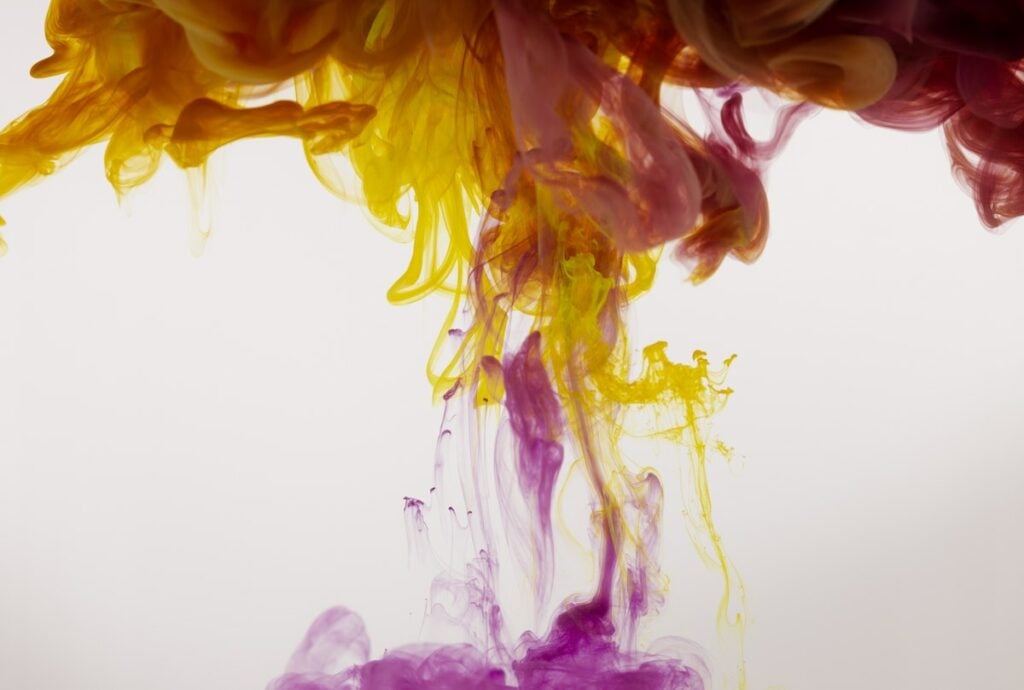
There are so many interesting home photography ideas you can play around with water when it comes to using water. While you can play with water drops in a glass of water, food dye in water is much more fun! All you need is a glass of water or a small fish tank, food colouring, and your camera!
For this one, you’ll either need someone to help or you can use a remote to operate the camera. From there, simply use a syringe or dropper to slowly drop food colouring into the water. The way the colour slowly sinks into the water in intricate patterns is truly mesmerising! For a different effect, you could also try using clothing dye or acrylic paint, and mix different colours for a beautiful photo. For lighting, you can experiment with using a flash or using LED lights.
4. Play with Shadows
Use ordinary objects like a vase of flowers or glasses to create and play with shadows. Use the sun as a source of light or play with artificial lighting.
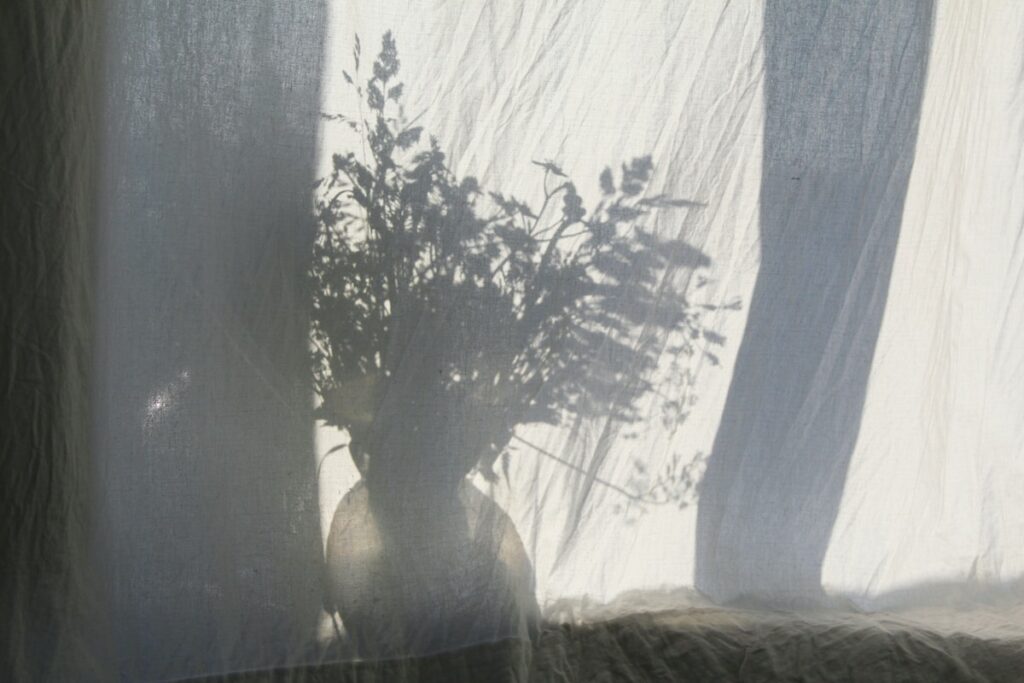
You can even play with shadows from people. If you have a willing model around, experiment with their profile and get them to create shapes using their hands or their body.
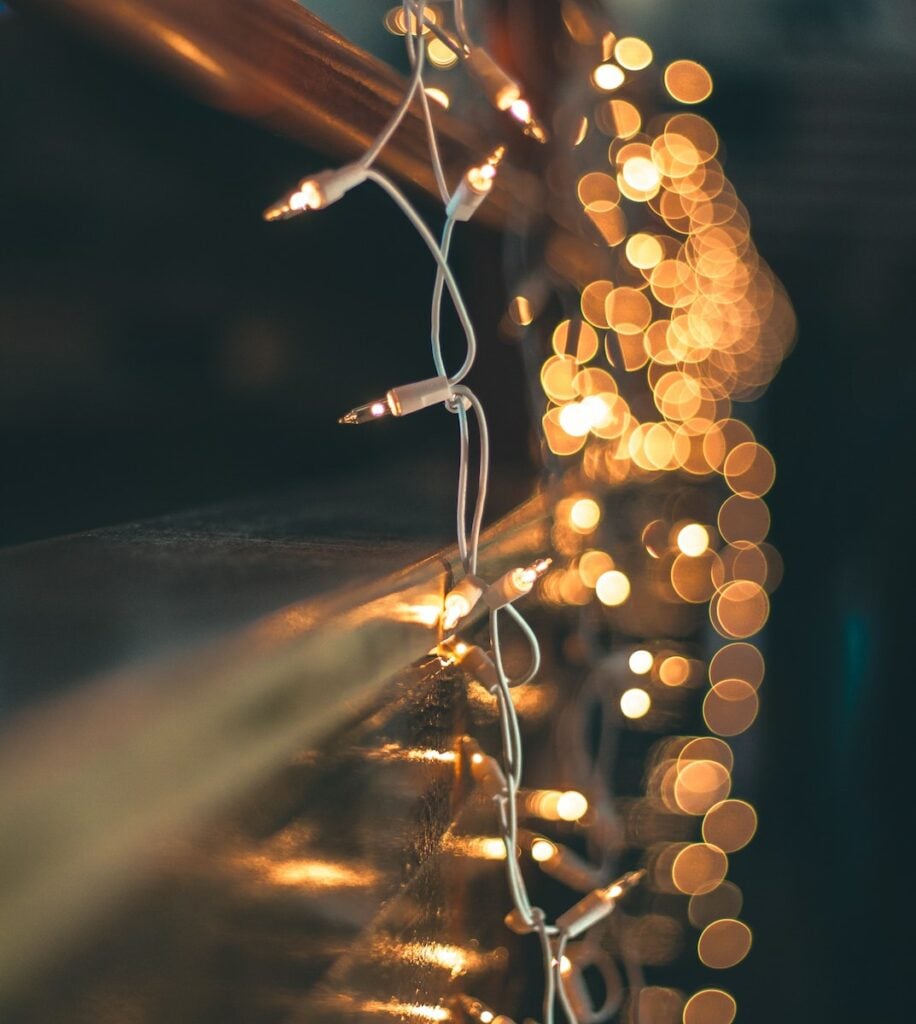
5. Use Fairy Lights
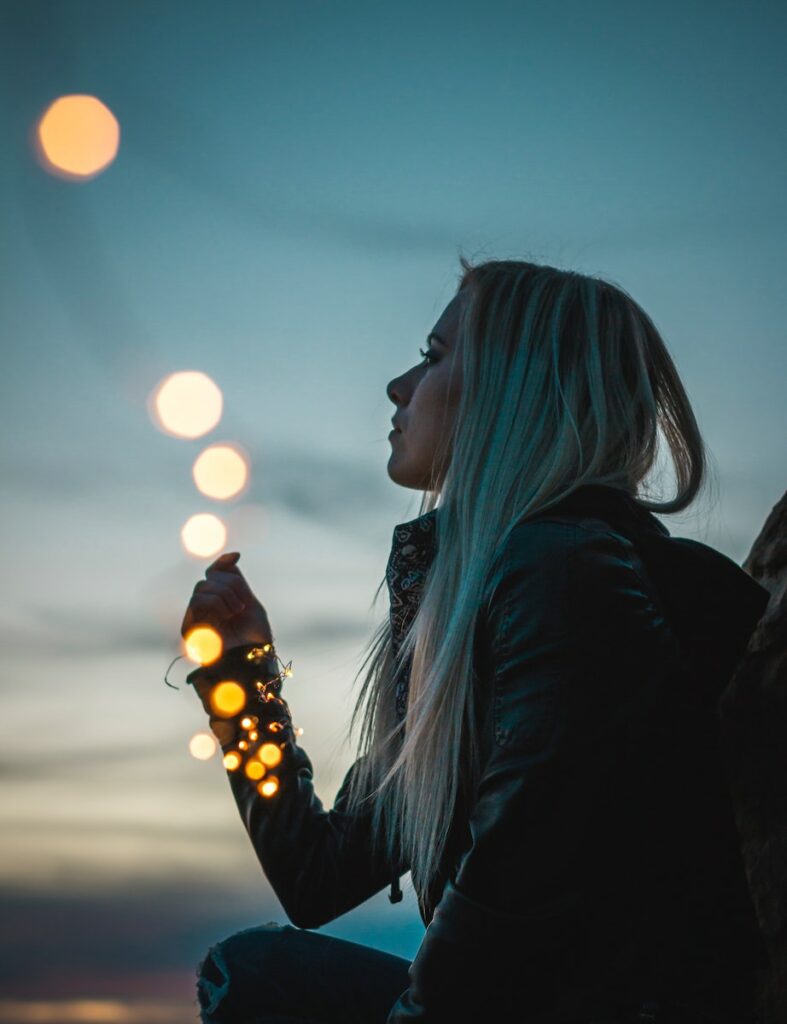
Fairy lights don’t just look good in Christmas photos! They are mobile and cast a magical glow in your photos! They’re also easy to move around, especially the battery-operated lights. You can place them in a jar, wrap them around someone’s neck, or use them to decorate. For the best results, use a wide aperture, like f1/2-1.8.
6. Spread some glitter
Like fairy lights, there’s something magical about glitter – as long as you don’t spill it everywhere! If you can learn how to photograph glitter well and experiment with the light hitting the glitter in just the right way, you can create some beautiful photographs.
Glitter portraits are beautiful. Get your subject to play around with throwing glitter in the air just in front of them – ideally outside! Capture the way it lands on their face, hair, or hands. You don’t necessarily need a model, though. Experiment with glitter falling out of the jar, sprinkled on unlikely objects to create an interesting juxtaposition, or throw it in the air and see what fantastic shots you can capture!
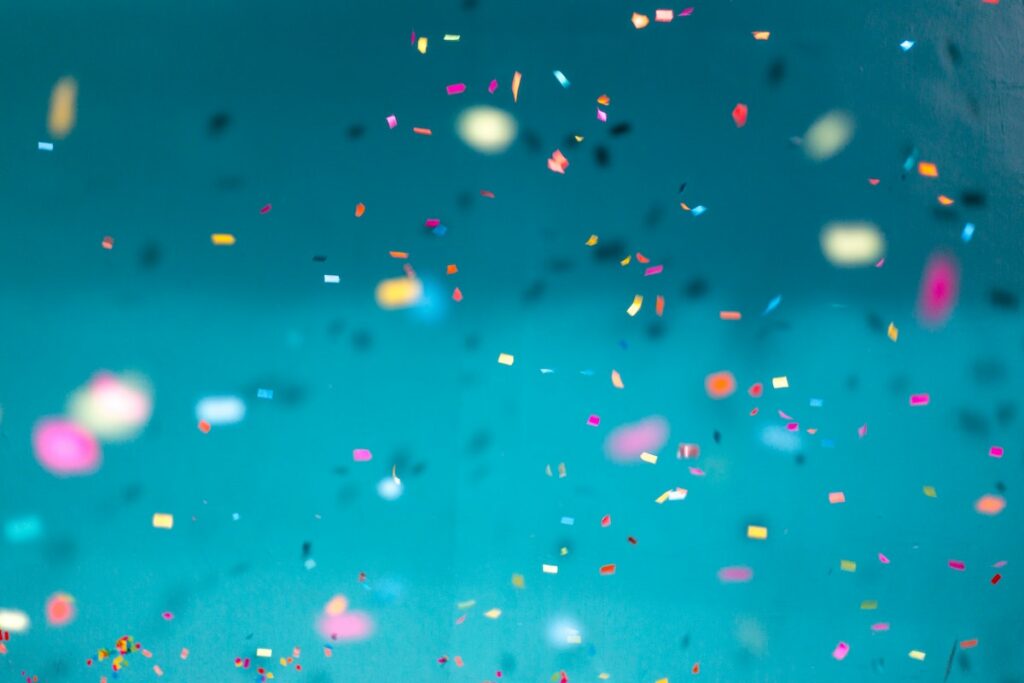
Again, you’ll have to use a fast shutter speed for this one, especially if you’re doing action shots. Remember to shoot at a lower ISO to reduce noise, otherwise, this can make the glitter look especially terrible on camera. And be sure to protect your camera from the glitter, or it can be almost impossible to remove it from all the nooks and crannies of your camera.

7. Neon Paint
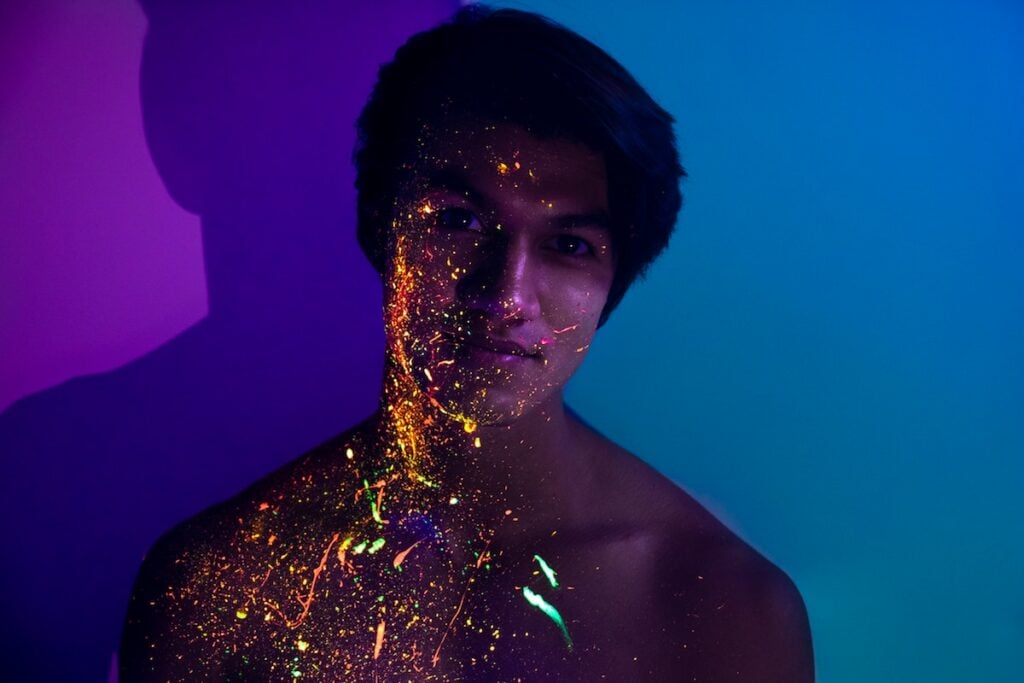
If you want to achieve a cool look with night photography, why not experiment with neon paint? Neon paint can provide endless hours of entertainment, but you will need a UV flashlight (and a helper or two!) to bring the look to life. Or, you can use an affordable UV light from Amazon if you want to capture a larger subject or if you have intricate neon patterns that you’d like to capture.
Simply apply neon paint to your skin (or your subjects), or apply it to an object like a wall, fabric, or whatever you like. Then turn on the UV lights and shoot! The most difficult part will be shooting in low light. To make it easier, use a tripod, a long exposure time, high ISO and a wide aperture.
8. Try Bokeh Photography
Wondering what bokeh photography is? Bokeh simply involves taking a subject and making it a little blurry while the subject is in focus. It is often used when photographing portraits in the city in front of neon lights, or cars against a blurred background to give the impression of movement and speed.
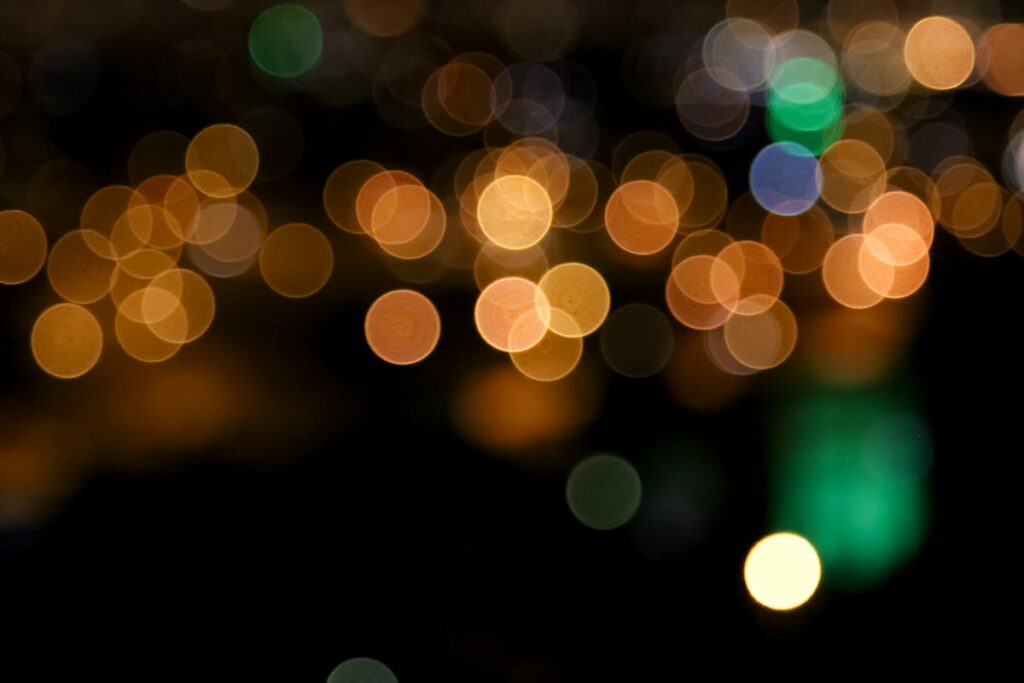
To perfect bokeh photography at home, you can experiment with lights or candles. To start off with try using objects, such as a glass of champagne in front of lights. Use a large aperture – so, in other words, the smallest f-number on your camera, such as f/4. Use a fast shutter speed at a setting of 1/60 seconds and faster for best results.
If you’re out and about (or you’d just prefer to cheat) you can mimic the bokeh effect with an iPhone that has a dual lens. Simply use your iPhone’s “Portrait” mode, and hit the “f” button in the top right corner of your camera screen. Change the aperture to the lowest setting and shoot!
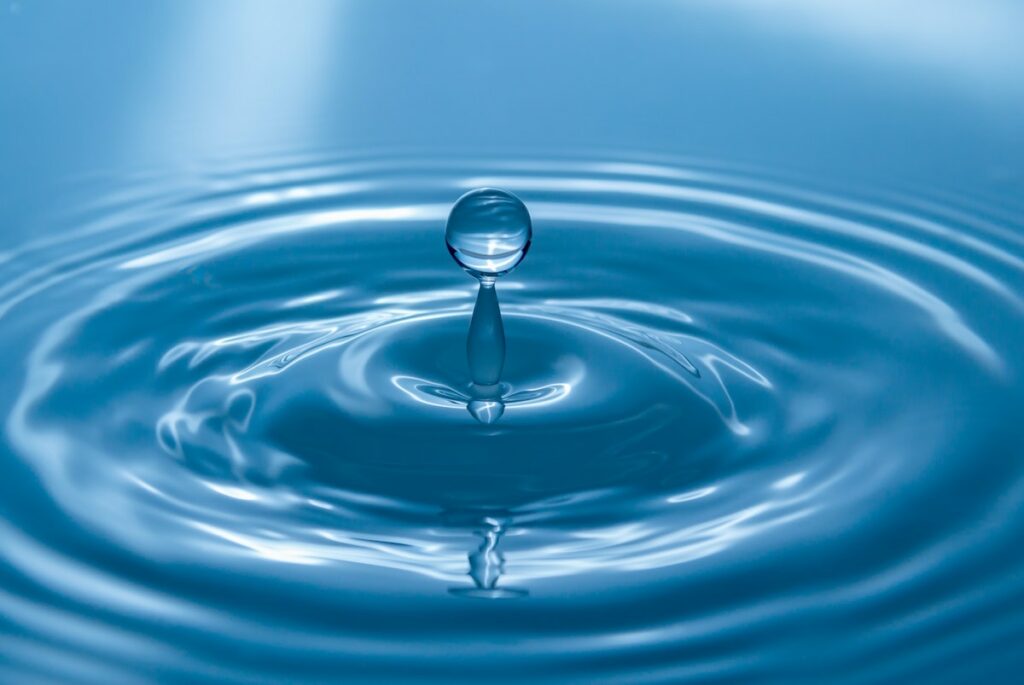
9. Photograph Water Droplets
You can watch endless hours go by photographing water. Here are our top home photography ideas for shooting water droplets:
- Spray water on the windows to give the effect of “rain”
- Use an eyedropper and photograph droplets of water splashing in a large bowl
- Use a different substance, like milk, to achieve a different look
For this one, you may need a helper and a remote trigger or extension cable. You may also need artificial lighting and reflectors to create the best lighting. Remember to protect your equipment from water. If you’re just at home, you can wrap your equipment in plastic.
Try a fast shutter speed and aperture around f/11. You can experiment with the flash and different settings to get the best result.
The best part about these home photography ideas is that if you’re alone you can take as long as you want! You can also sharpen up your skills in a controlled environment and take your time to practice getting those perfect shots.
Just remember that when you’re practising these photography ideas at home it will be much easier than trying to shoot when you’re out and about! Therefore, try to learn how to adapt your camera settings for when you go out to new locations where light may vary or your subject might be moving.
Once you’ve got your beautiful new photographs, why not turn them into stunning works of art? Try our beautiful canvas prints, durable metal prints or chic gallery-style acrylic prints? Or, if you’re not sure what you want yet, explore our full range here.

