Whether you’ve dabbled in photography or been at it for…
8 Night Photography Tips for Beginners
How does your night-time photography generally turn out? If you are like most people, you take stunning photos at sunrise and sunset, pretty good photos during the day… but your night-time photography is a little lacking. It can be so disappointing when you have the perfect photo opportunity all set up, yet what could have been a stunning photo worthy of having professionally printed turns into one so low quality that you can do no more than share it on social media. Looking to solve this problem ourselves, we researched the best night photography tips for beginners and were surprised at the simple steps that can be taken to improve night-time photography. Read on, and thank us later when your night-time photography attempts suddenly start to work out.
1. Go RAW
Before you step outside to try your hand at some night photography, take a few moments to adjust the settings on your camera. The first of our night photography tips is to shoot images in RAW. RAW is an image file type whereby the data that makes up the image has not been processed, encrypted, or compressed in any way. Essentially, this means that your images will retain the maximum amount of information, leaving you more scope to edit your photos later. This is mainly applicable to SLR cameras, although later model smartphones – especially Android phones running Lollipop, may also have a RAW setting.
2. Steady Your Hand with a Tripod
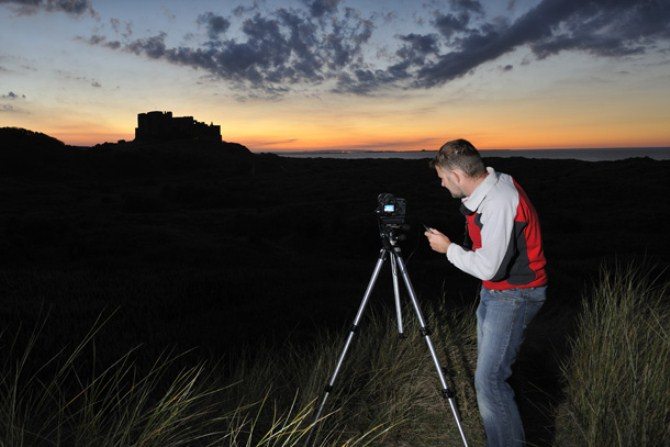
From Digital Camera World
Night photography means that your camera will be using a slower shutter speed in order to capture the light that it needs in order to create the photograph. As Digital Camera World noted, your camera’s shutter speed could be anywhere between one and thirty seconds depending on the camera and the available light, and this means that you’ll need to make use of a tripod in order to ensure that your images won’t be blurry. When dealing with slow shutter speeds, even the slightest movement can blur the image beyond recognition, so don’t even attempt to hold your camera by hand when using a slow shutter speed for night photography.
3. Inventive Light Sources
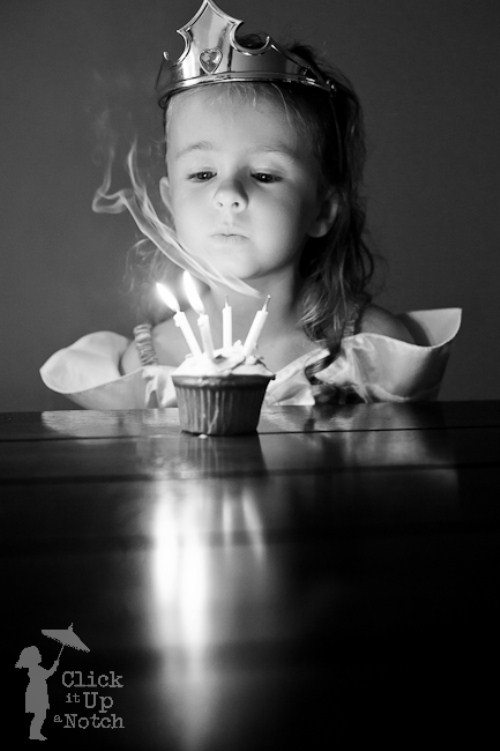
Just because your natural light will be limited during night-time photography doesn’t mean that you can’t make use other light sources. Rather than relying solely on your camera’s flash, experiment with other light sources that are readily available and which could add to the style and tone of your photo. For example, in the image featured above, the birthday girl’s face is illuminated by the light thrown by the candles, and the resulting slow shutter speed gives the smoke from the candles a dramatic effect. The candlelight also casts an interesting glare on the table, which makes for an effective feature of the photo. You could also consider light that emanates from televisions, computer monitors and other electronic devices, or even a chink of light coming through a doorjamb.
4. Make Use of Water
From Digital Photography School
Digital Photography School makes a great point: people looking to improve their night photography skills should experiment with taking photos around bodies of water. Water provides many beneficial effects in night photography, as it creates interesting yet softer reflections, while seeping up colour. In general, night photography near water will bring more light to your image as the available light – limited though it may be – will be reflected off the water. The reflective effects of photographing subjects near water can also create symmetry within your night photography.
5. Focus
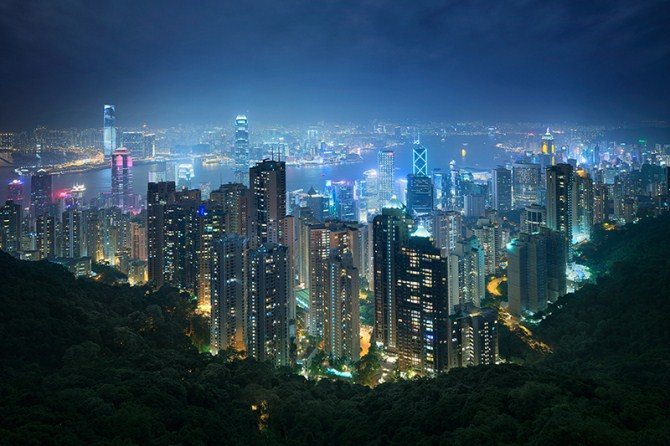
From 500px ISO
We’ve all made good use of our cameras’ auto-focus features – it’s one of the marvels of modern photographic technology. But where auto-focus really shines is when attempting to capture fast moving objects in beautiful filtered sunlight. When it comes to night photography, and especially when photographing stationary objects, auto-focus should be discarded in favour of manual focus. The specifics on how to manually focus your camera will depend on the make and model of your equipment, but it will be well worth your time to do a quick internet search (or even consult your camera’s manual) to hone your manual focus skills. This in itself will drastically improve your night photography.
6. Mind the Humidity
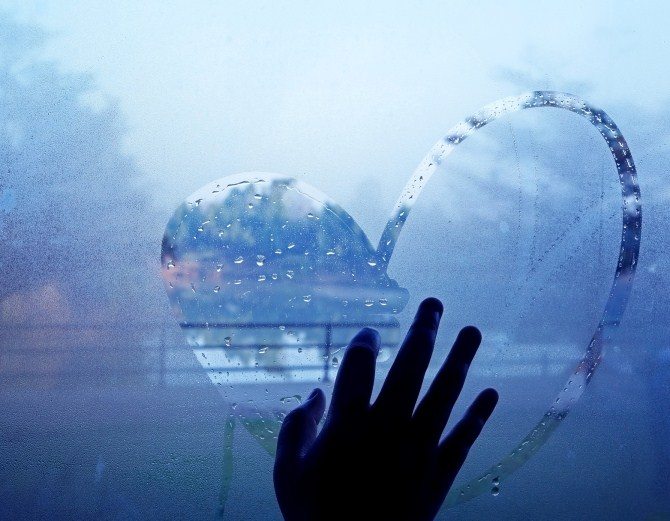
It is important to regulate the temperature of your camera – specifically the lens – to ensure that your camera lens doesn’t fog up at the worst possible moment. This will usually happen when your camera has been stored somewhere cool (such as an air-conditioned room) before being taken out into the humidity of the evening. If you think back to your high school science classes, you may remember that when cool glass comes into contact with humid air, it will fog up, which is not good news for your night-time photography efforts.
7. Street Light Sparkles
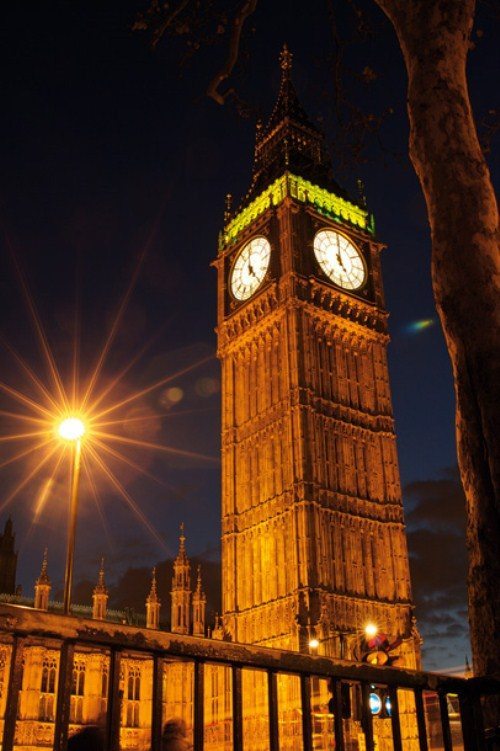
From Digital Camera World
Notice how the street light gives of a visually appealing starburst effect in the above photo? As Digital Camera World explains, this starburst effect is created by using a narrow aperture to ensure that your depth of field is the deepest, resulting in a sharp photograph from the background to the foreground. As an added bonus, a narrow aperture will also create a street light sparkle effect, which we think is just fantastic.
8. Lock up Your Mirrors
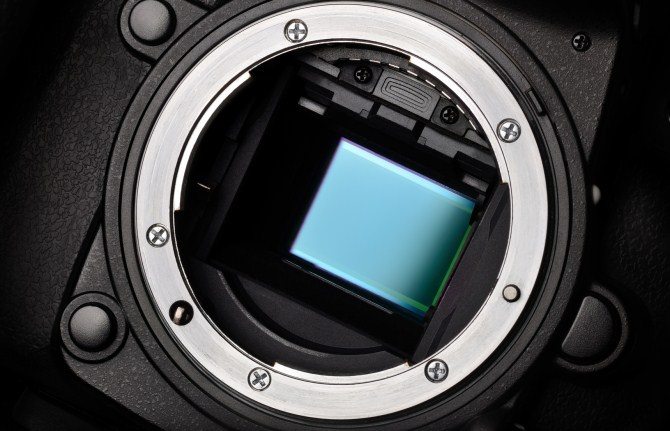
If you are still getting blurry images even after following our advice in Tip #2 above and using a tripod for your night photography, there is another step you can take to ensure that your camera remains perfectly still. Your camera will most likely have a setting called “Mirror Lock-Up,” or similar, which will prevent the mirror from inside your digital SLR camera from moving up and down. As we now know, when you’re dealing with slow shutter speeds, even the slightest movement can create a blurred end result.
If you’ve put even just a few of these tips into practice, you should notice a vast improvement in your night photography skills. Once you’ve taken the perfect night-time photo, celebrate your new after-dark photography skills by turning your photo into stunning personalised wall art for your home.


